Imagine effortlessly turning your baked creations into edible masterpieces with just the flick of a pen. A cake pen is an ultimate tool for bakers, whether you’re a seasoned pro or a beginner looking to add flair to your desserts. This simple yet powerful tool allows you to draw, write, and decorate with precision, unlocking endless possibilities for customization.
Cake pens make it easy to elevate even the simplest cakes, cookies, and cupcakes into something extraordinary. With their versatility, you can craft intricate designs, write heartfelt messages, or add playful accents with minimal effort.
In this post, I’ll show you seven creative and practical ways to use a cake pen that will transform your baking instantly. Whether you’re looking to impress at your next celebration or explore your artistic side, these ideas will inspire you to unleash your creativity in the kitchen.
1: What is a Cake Pen and Why Every Baker Needs One
Definition and Purpose
Cake pens offer bakers an easy and versatile way to decorate desserts. These handy tools function like regular pens but use edible ink or icing, allowing you to draw intricate designs, write personalized messages, or enhance baked goods with fine details. Bakers use cake pens to turn simple cakes and cookies into visually stunning treats that look professional. With a cake pen, you can add a creative and personal touch to your baking projects, whether you’re a beginner or an experienced decorator.
Types of Cake Pens
Cake pens come in a variety of types, each suited for specific tasks. Here are the main categories:
- Edible Ink Pens
These pens use food-grade ink and work best for drawing directly on hard, smooth surfaces like fondant, royal icing, or white chocolate. - Icing Pens
Icing pens contain soft, squeezable icing that lets you create textured designs, borders, or 3D accents. These pens work well on buttercream and other soft surfaces. - Gel Pens
Gel pens allow for bolder and shinier designs. Use them to create accents or write standout messages on desserts. - DIY Pens
Refillable cake pens let you fill them with your choice of edible gel or icing, providing more flexibility in consistency and color.
Choose the type of cake pen that aligns with your design goals and the type of dessert you are decorating.
Benefits of Using Cake Pen
Cake pens provide several advantages that make decorating quicker and more enjoyable:
- Precision and Detail
Cake pens allow you to draw fine lines, intricate patterns, and personalized text, adding professional-looking details to your desserts. - Ease of Use
Unlike traditional piping bags, cake pens feel more intuitive to hold and use, especially for beginners. - Versatility
Use cake pens for a variety of tasks, from writing birthday messages on cakes to decorating cookies and cupcakes. - Minimal Mess
Cake pens simplify cleanup by eliminating the need for bulky piping bags or extra tools.
With these benefits, cake pens empower bakers to create stunning designs without requiring extensive skills or experience.
Compatibility
For the best results, match your cake pen with the right surface. Here’s how to ensure compatibility:
- Fondant
Cake pens glide smoothly over fondant, making it the ideal surface for clean, sharp lines and intricate designs. - Buttercream
For the buttercream, chill the cake to create a firm surface before using the pen. Soft or freshly applied buttercream can cause smudging. - Cookies and Royal Icing
Let cookies or royal icing fully dry before using cake pens. The smooth, hardened surface makes it easy to add delicate details. - Chocolate
Use cake pens to decorate white or dark chocolate, but ensure the chocolate is at room temperature to avoid melting or smearing.
By selecting the appropriate surface and cake pen type, you’ll achieve vibrant and precise designs every time.
2: 7 Creative Ideas to Use a Cake Pen in Your Baking
Personalized Messages
Adding personalized messages to your baked goods creates a special touch that delights recipients and makes your desserts stand out. Cake pens make this process simple, even for beginners. Here’s how you can maximize their potential:
1. Write Names or Greetings
Use the cake pen to write names, celebratory phrases, or heartfelt messages directly onto cakes, cupcakes, or cookies. Examples include “Happy Birthday,” “Congratulations,” or even inside jokes or short quotes for a personal touch.
2. Customize for Events
Tailor your messages to fit the occasion. For weddings, write “Mr. & Mrs.” or the couple’s initials. For baby showers, add phrases like “It’s a Boy!” or “Welcome Baby.” The versatility of a cake pen allows you to match the mood and theme of any event.
3. Combine with Colors and Fonts
Experiment with different colors and styles to create eye-catching designs. Use bold lettering for a dramatic effect or cursive script for an elegant touch. Cake pens also allow for layering, so you can add shading or highlights to your text for more depth.
4. Add Fun for Kids
Personalize birthday treats by writing each child’s name on their cupcake or drawing simple doodles alongside the message. This personal touch ensures every kid feels special.
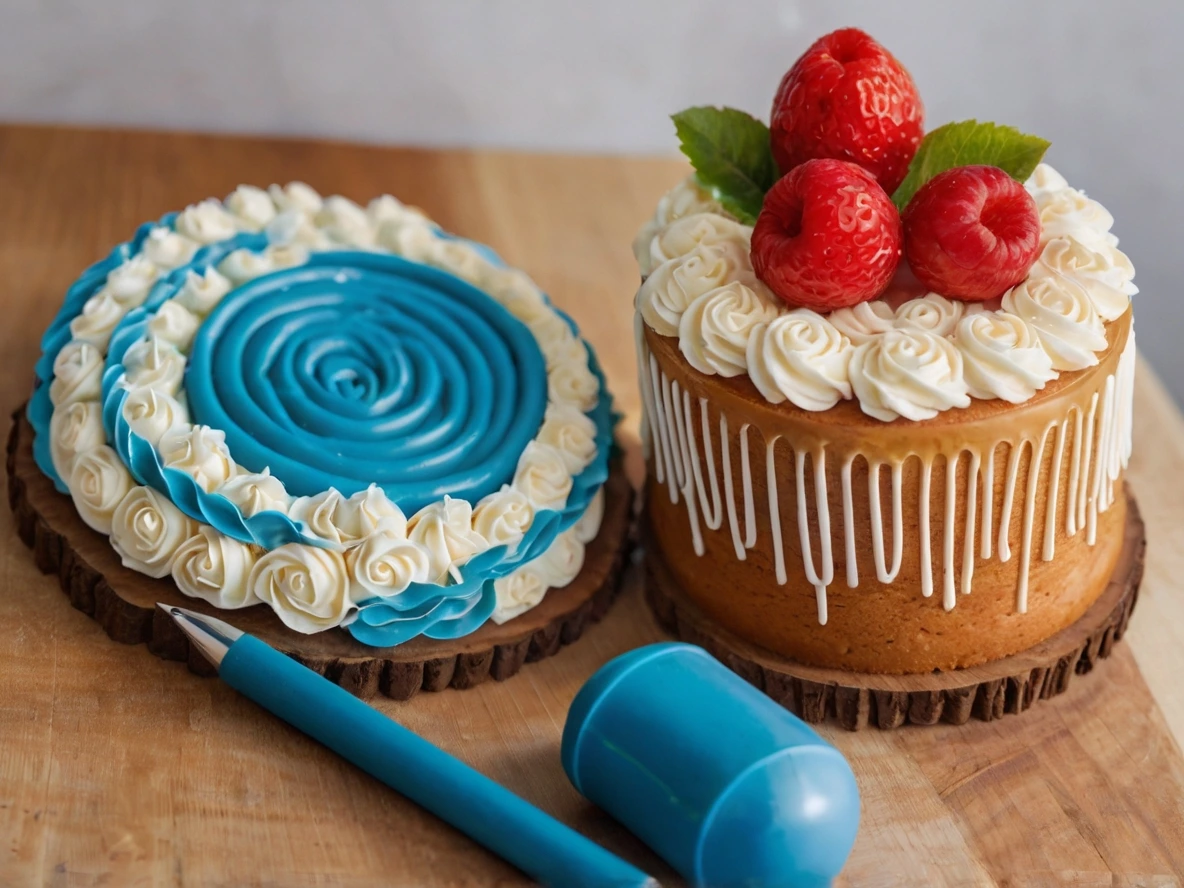
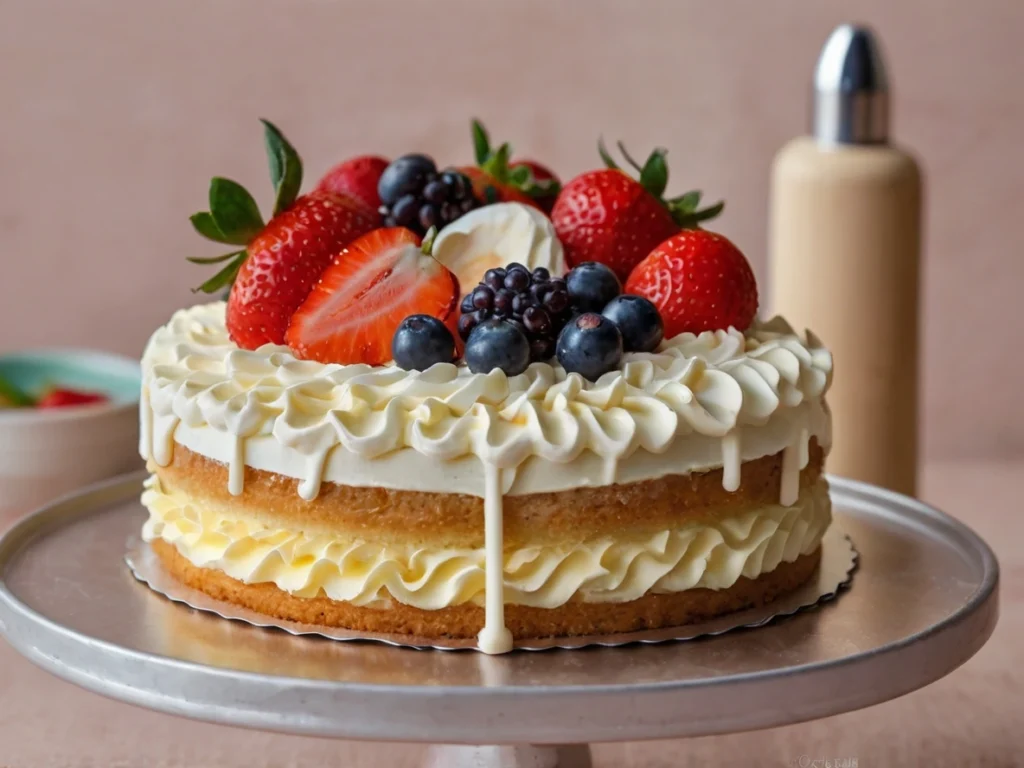
Intricate Patterns and Borders
Cake pens are perfect for adding intricate patterns and decorative borders that enhance the visual appeal of your desserts. With some creativity and practice, you can replicate professional-grade designs at home.
1. Create Floral Patterns with a Cake Pen
Use the pen to draw flowers, leaves, and vines directly onto cakes or cookies. Start with simple designs like daisies or hearts, and gradually work your way up to more detailed patterns like roses or mandalas. Floral accents add elegance and sophistication to any dessert.
2. Add Thematic Borders
Draw borders around cakes to match specific themes. For example:
- Use waves and shells for a beach-themed cake.
- Add snowflakes or icicles for a winter-inspired dessert.
- Draw polka dots, zigzags, or stripes for a playful, modern look.
Borders frame your design and give it a polished, cohesive appearance.
3. Experiment with Geometric Designs
Geometric patterns like hexagons, triangles, and diamond shapes work beautifully for contemporary cakes. Use contrasting colors to make these designs pop. Combining bold lines with intricate details creates a striking visual effect.
4. Layer Patterns for Depth
Begin with a light base design, then add darker or complementary colors on top for a layered effect. For instance, draw a delicate lace design and outline it with a darker shade to make it stand out.
By mastering personalized messages and intricate patterns, you can transform any baked good into a unique work of art that leaves a lasting impression on your audience.
Tips and Tricks for Using a Cake Pen Like a Pro
1. Practicing on Parchment Paper
Practicing on parchment paper is the best way to refine your cake pen skills before working on your final baked creation. This method allows you to perfect your technique without the pressure of decorating directly on your dessert.
Start with Basic Shapes
Begin by drawing simple shapes like circles, lines, and stars. These foundational patterns help you get comfortable with controlling the pen’s flow and pressure. Once you master these, progress to more complex designs like flowers, borders, or intricate patterns.
Test Pen Consistency
Parchment practice helps you identify if your cake pen’s consistency is ideal. For icing pens, ensure the icing flows smoothly without being too runny or stiff. For edible ink pens, check if the ink saturates the design evenly. Adjust the pen or ingredients as needed.
Recreate Your Final Design
Sketch your intended design on parchment paper first. Practice the entire layout, including placement and spacing, so you can visualize how it will look on the actual dessert. Use this dry run to troubleshoot any issues and build confidence.
2. Choose the Right Surface
The success of your cake pen designs largely depends on the surface you choose. Not all baked goods provide the same level of stability or smoothness, so it’s important to match the right surface with your decoration goals.
Fondant
Fondant is the ideal surface for cake pens because of its smooth, firm texture. Roll it out evenly and allow it to set for a few minutes before decorating. Cake pens glide effortlessly on fondant, making it perfect for intricate patterns or fine details.
Buttercream
Buttercream surfaces can work well, but preparation is key. Chill your cake or cupcakes slightly to firm up the buttercream before using the pen. A cold, firm surface minimizes smudging or dragging. Avoid decorating freshly applied, soft buttercream, as it can cause the pen to sink.
Royal Icing
Once dried, royal icing provides a hard, glossy surface that pairs perfectly with cake pens. Use it to add intricate designs on cookies or as a base for layered decorations. Make sure the royal icing is completely dry to prevent cracking.
Chocolate
Decorating chocolate surfaces requires care. Ensure the chocolate is at room temperature or slightly cooled to avoid melting under the pen’s pressure. White chocolate works especially well with vibrant edible ink pens, while darker chocolate pairs beautifully with metallic or light-colored pens.
3. Steady Hands for Clean Lines
Achieving clean and professional lines with a cake pen requires a steady hand and good technique. Here are some actionable tips:
Position Your Hands Correctly
Hold the cake pen like a regular pen, but keep your wrist relaxed. Rest your elbow or forearm on a stable surface to reduce hand movement. If needed, use your non-dominant hand to support the hand holding the pen for extra control.
Work Slowly and Deliberately
Rushing often leads to uneven lines or smudges. Take your time, especially when working on intricate patterns or detailed text. Move the pen in small, controlled motions to maintain precision.
Use Guiding Tools
If you struggle with straight lines or consistent patterns, use stencils, rulers, or templates to guide your designs. These tools help ensure symmetry and consistency, particularly for repetitive patterns.
Practice Controlled Pressure
Apply consistent pressure to the cake pen to avoid uneven ink or icing flow. Too much pressure can cause the pen to release too much material, while too little can result in faint or broken lines.
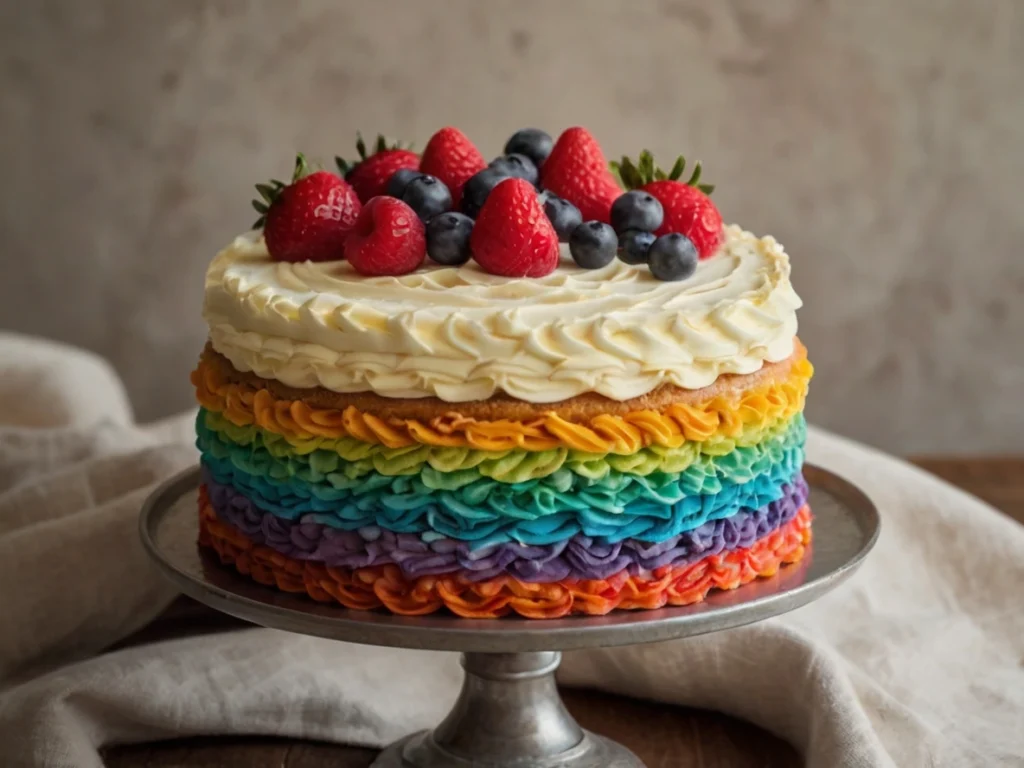
4. Layering and Blending Colors
Layering and blending colors with a cake pen adds depth, dimension, and vibrancy to your designs. This technique works beautifully for creating detailed patterns, shaded effects, and realistic art on cakes and cookies.
Start with a Base Layer
Begin with a light-colored base layer to outline or block in large areas. Allow it to dry slightly before adding additional layers to avoid smudging or mixing colors unintentionally.
Add Shading and Highlights
Use darker shades to add depth or shadows to your design. For example, when drawing flowers, start with a light base color for the petals and add darker tones at the edges or center to create a realistic effect. Similarly, use white or metallic pens to highlight areas for extra dimension.
Blend Gradients Seamlessly
To create gradients, overlap colors slightly while they’re still wet. Use a small brush or your finger to gently blend the colors where they meet. This technique works well for ombre effects or creating soft transitions between hues.
Experiment with Contrasts
Combine complementary or contrasting colors to make your designs pop. For example, use gold or silver on dark chocolate or vibrant tones on a white fondant surface. Bold contrasts make designs more striking and visually appealing.
By mastering these techniques—practicing on parchment paper, choosing the right surface, maintaining steady hands, and layering colors—you can use cake pens to create stunning, professional-grade decorations with confidence.
Must-Have Cake Pens and Accessories
1. Top Cake Pen Brands
When it comes to cake pens, choosing a reliable brand ensures quality results and ease of use. With numerous options available, selecting the best brand can feel overwhelming. To help you make an informed decision, here are some of the top cake pen brands renowned for their performance and versatility:
Wilton
Wilton is a household name in the baking world, offering high-quality edible pens that cater to both beginners and professionals. Known for their smooth ink flow and vibrant colors, Wilton’s cake pens work exceptionally well on fondant, royal icing, and other smooth surfaces. Additionally, their wide range of colors ensures you have everything you need for intricate designs.
AmeriColor
If you’re looking for precision and bold colors, AmeriColor edible pens are a fantastic choice. Their fine-tip designs make them perfect for detailed patterns and lettering. Furthermore, their pens are food-safe, easy to use, and compatible with a variety of surfaces, from cookies to fondant toppers.
Sweet Sticks
Sweet Sticks offers premium-quality edible art pens with both fine and wide tips, making them versatile for different types of cake decorating. What sets them apart is their range of metallic shades, which add a luxurious touch to your designs. They are particularly popular for wedding or celebration cakes requiring elegant detailing.
Rainbow Dust
Rainbow Dust is another trusted brand for cake pens, particularly known for their metallic and shimmery colors. Their pens are ideal for adding highlights and fine details to cakes and cookies. Plus, they are easy to store and last long, providing excellent value for money.
With so many options, it’s a good idea to experiment with a few brands to see which suits your decorating style best.
2. Additional Tools for Cake Decorating
While cake pens are incredibly versatile, pairing them with other tools can elevate your decorating game. Using complementary tools allows you to create more intricate and professional-looking designs. Here are some must-have tools to consider:
Fondant Rollers and Cutters
A smooth fondant surface is the perfect base for cake pen designs. Use fondant rollers to achieve even thickness and cutters to create shapes for toppers. These tools help you prepare your canvas before you begin decorating with a pen.
Piping Bags and Tips
For designs requiring texture or 3D effects, piping bags and tips are essential. Use them to outline areas before filling them in with a cake pen or to create raised accents that the pen can enhance with details.
Stencils and Templates
Stencils and templates are excellent for achieving consistent and symmetrical designs. Place a stencil on your cake or cookie and use the cake pen to trace the pattern. This method is especially helpful for beginners who want polished results.
Turntables and Levelers
A cake turntable allows you to rotate your cake smoothly while decorating, making it easier to draw detailed patterns or write text. Cake levelers, on the other hand, ensure your cake layers are even and stable, providing a solid base for your decorations.
Edible Dust and Paints
Combine cake pens with edible dust or paints to add depth and texture. Use the pens for outlines and details, then apply dust or paints to create shading or metallic effects. This pairing gives your designs a more dynamic appearance.
These additional tools work hand-in-hand with cake pens, offering you greater control and expanding your creative possibilities.
3. Where to Buy
Finding high-quality cake pens and decorating tools is easier than ever, thanks to the wide range of purchasing options. From online retailers to local stores, you can access everything you need to start creating stunning baked goods.
Online Retailers
Websites like Amazon, Walmart, and Etsy offer a broad selection of cake pens from top brands. With customer reviews, detailed descriptions, and fast shipping options, these platforms make it convenient to find and compare products. Additionally, specialty baking sites like Wilton, Sweet Sticks, and Global Sugar Art provide curated collections of cake-decorating tools.
Local Craft and Baking Supply Stores
Visit stores like Michaels, Joann, or Hobby Lobby to browse cake pens in person. These stores often have seasonal collections and knowledgeable staff who can recommend the best products for your needs. Furthermore, you can find unique items that may not be available online.
Baking Supply Shops
Independent baking supply stores often carry high-quality cake pens and tools tailored to professional decorators. These shops are a great place to discover niche brands and receive personalized recommendations from experts.
Supermarkets and Big-Box Stores
If you need a quick and budget-friendly option, check the baking aisle of your local supermarket or big-box store. While the selection may be smaller, you can often find basic cake pens and other essential tools.
Whether you prefer the convenience of online shopping or the hands-on experience of visiting a store, there are plenty of places to find the cake pens and tools that suit your needs. Transitioning from browsing to baking has never been so accessible!
Maintenance and Creative Alternatives
1. Cleaning and Storing Your Cake Pen
Proper care of your cake pen ensures it lasts longer and maintains its performance. Cleaning and storing your pen correctly will not only save you money but also prevent frustration the next time you use it. Let’s explore how to care for your cake pen step by step:
Cleaning Your Cake Pen
After each use, cleaning your cake pen thoroughly is essential to prevent clogs and maintain smooth ink or icing flow. Follow these tips for effective cleaning:
- Disassemble if Possible: If the pen comes with removable parts, take it apart carefully. This makes it easier to reach every nook and cranny.
- Rinse with Warm Water: Hold the pen under warm running water to remove any icing, ink, or residue. If needed, gently scrub the tip with a soft brush or toothpick to clear stubborn clogs.
- Use Food-Safe Cleaning Solutions: For reusable pens that use icing or gel, a mild food-safe soap can help remove greasy residue without damaging the pen.
- Dry Completely: Allow all components to air-dry thoroughly before reassembling the pen. Moisture left inside can cause clogs or affect the ink or icing consistency.
Storing Your Cake Pen
Proper storage ensures your cake pen is always ready to use:
- Cap It Tightly: For edible ink pens, always secure the cap to prevent the ink from drying out. If the pen doesn’t have a cap, store it in an airtight container.
- Store in a Cool, Dry Place: Avoid exposing your pen to heat or direct sunlight, as these can affect the ink or icing quality.
- Organize in a Tool Kit: Keep your cake pen with other decorating tools in a designated container to avoid misplacing it and to keep your supplies accessible.
By incorporating these simple steps into your routine, you’ll ensure your cake pen remains in excellent condition for future decorating projects.
2. DIY Cake Pen Hacks
If you don’t have a professional cake pen on hand or want to experiment with creative techniques, DIY hacks can help you achieve similar results using everyday tools. Here are some clever ideas to try:
Create a Homemade Piping Pen
Fill a resealable plastic bag with icing and snip a tiny hole in one corner. This creates a makeshift cake pen that’s perfect for writing or drawing. Use a toothpick to refine your designs if needed.
Repurpose Plastic Bottles
Small plastic squeeze bottles with fine tips can double as cake pens. Fill them with melted chocolate, royal icing, or edible paint for precise control. Adjust the tip size by cutting it to suit your design.
Use Edible Paints and Brushes
If you don’t have an edible ink pen, mix food coloring with a small amount of alcohol (such as vodka or lemon extract) to create edible paint. Use fine-tipped brushes to replicate the effect of a cake pen.
Reuse Empty Pens
Once a store-bought cake pen runs out, don’t throw it away! Refill it with melted chocolate or thinned royal icing for continued use. Ensure the refill mixture is smooth to prevent clogs.
Experiment with Stencils
To create professional-looking designs, use stencils with your DIY cake pen. Whether you’re using a plastic bag or squeeze bottle, stencils provide clean and symmetrical patterns with minimal effort.
These DIY hacks are budget-friendly and a fun way to explore creative decorating techniques without investing in additional tools.
3. Alternative Uses
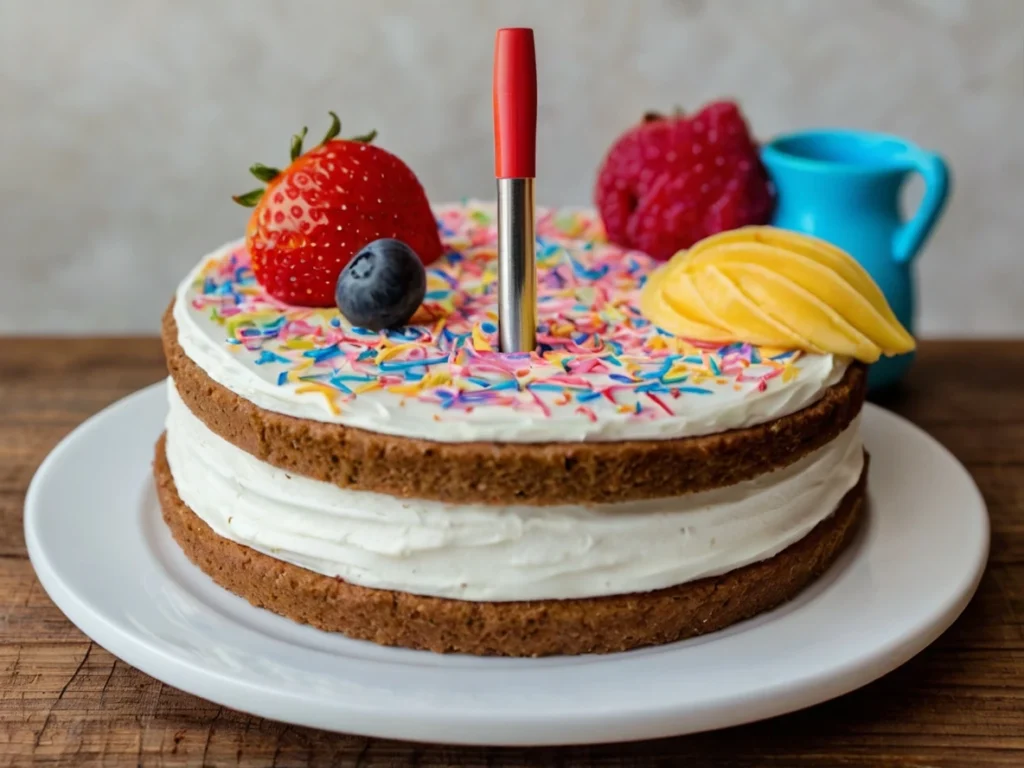
Cake pens are versatile tools that go beyond basic decorating. By thinking outside the box, you can use them in a variety of innovative ways to add flair to your culinary creations.
Decorating Non-Traditional Desserts
Cake pens aren’t just for cakes and cookies! Use them to decorate other sweet treats:
- Marshmallows: Draw cute faces or patterns for a whimsical touch.
- Chocolate-Covered Strawberries: Add designs or initials to customize these elegant treats.
- Ice Cream Bars: Use a chilled cake pen to add chocolate designs or drizzle patterns.
Customizing Savory Dishes With Cake Pen
Surprisingly, cake pens can also be used for savory creations. Fill a pen with savory sauces like aioli or balsamic reduction to decorate appetizer plates or drizzle patterns on gourmet dishes. This adds a restaurant-quality presentation to your meals.
Check out for more ideas
Personalized Party Favors
Use cake pens to customize edible party favors. Write names, messages, or dates on individually wrapped cookies or chocolates to create memorable and personalized keepsakes for your guests.
Edible Art for Kids’ Projects
Get kids involved in creating edible art using cake pens. Let them decorate their snacks with fun drawings, shapes, or even simple messages. This activity is entertaining and encourages creativity.
By exploring these alternative uses, you’ll discover that cake pens are not just a decorating tool but also a gateway to culinary creativity across various dishes and events. Transitioning from traditional cakes to innovative applications expands the value and versatility of your cake pens.
Conclusion
Cake pens are truly a game-changer in the world of baking, offering endless creative possibilities for transforming your treats. Whether you’re personalizing messages, crafting intricate patterns, or designing stunning cupcake toppers, cake pens provide a quick and easy way to elevate your baked goods. As we’ve seen, the versatility of cake pens allows you to experiment with different techniques, colors, and surfaces to achieve professional-level designs in no time.
Now, it’s your turn to get creative! Don’t be afraid to experiment with new ideas, try out different techniques, and make your baked creations uniquely yours. Whether you’re a beginner or an experienced baker, cake pens offer an exciting way to personalize your desserts and add that extra touch of flair.
We encourage you to share your cake pen designs and spread the inspiration to fellow baking enthusiasts. Be sure to check out our additional resources and tutorials on the blog for more tips, tricks, and ideas to keep your cake-decorating journey fresh and fun. Happy decorating!
Leave a Reply